How to Create Stamped Sheet Metal Designs for Your Projects?
Creating unique designs using Stamped Sheet Metal can elevate any project. Experts like John Smith, a leading authority in metal fabrication, emphasize this. He states, "Stamped Sheet Metal allows for creativity and precision in every piece." This method enables artisans to transform raw materials into stunning designs.
When working with Stamped Sheet Metal, understanding the tools and techniques is essential. A variety of dies and stamps can produce intricate patterns. Selecting the right material influences the final appearance as well. However, the learning curve can be steep. Mistakes may occur, leading to wasted materials or time.
Experimentation in design is vital. Each stamp can yield different results based on pressure and alignment. Designers must be attentive to detail. This process requires patience and persistence for perfecting one’s craft. Reflecting on errors can also foster growth in skills. Stamped Sheet Metal is both challenging and rewarding, inviting continual learning and adaptation in every project.
Understanding the Basics of Stamped Sheet Metal Design
Stamped sheet metal design is an essential skill for many DIY projects. Understanding the basics can lead to unique creations. This process is often used in various industries, from automotive to home decor. It's not only about tools; it's about technique and creativity.
When starting, selecting the right sheet metal is crucial. Thinner metals are easier to stamp, but they may bend more easily. Consider the thickness and type of metal you want to use. Aluminum or stainless steel could be good choices. Practice techniques on scrap materials. This will help you develop confidence without wasting resources.
Tips for stamping: Always measure twice before cutting. This helps prevent mistakes. Using a quality die will also enhance the design's precision. If mistakes occur, reflect on what went wrong. Document your process for future reference. Learning from errors is a part of the creative journey. Embrace the imperfections; they often lead to unexpected innovations.
Choosing the Right Materials for Your Stamped Designs
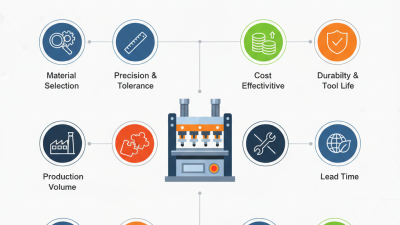
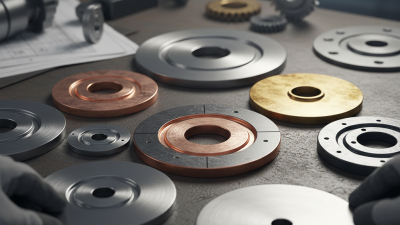
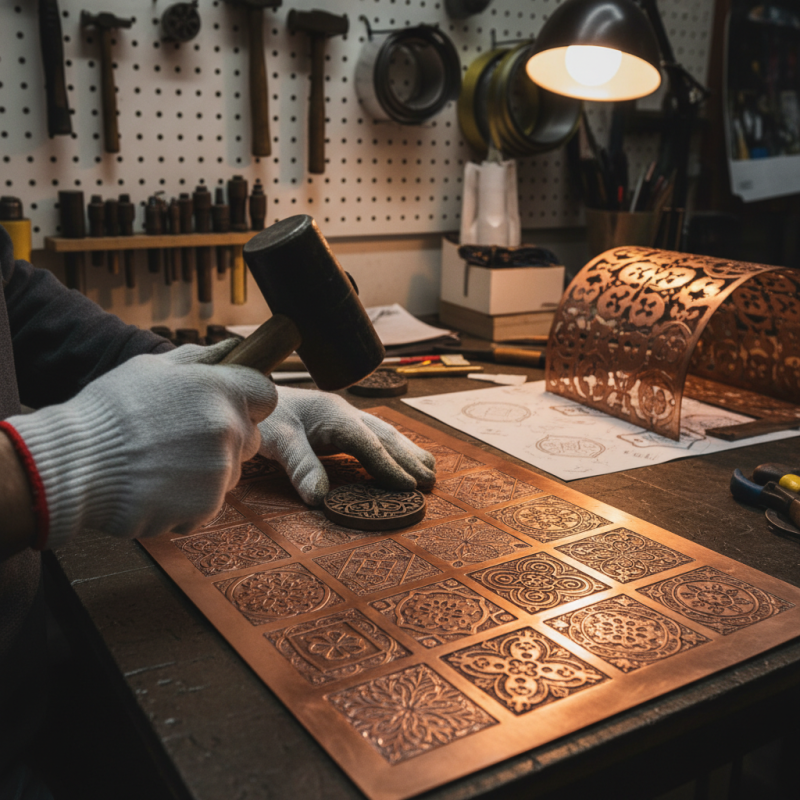
When it comes to creating stamped sheet metal designs, choosing the right materials is crucial. Not all metals are suitable for stamping. Common choices include aluminum, brass, and mild steel. Each offers unique properties. For instance, aluminum is lightweight and easy to shape. Brass adds a touch of elegance, while mild steel is durable and economical.
While selecting materials, consider thickness and malleability. Thinner sheets are easier to stamp but may lack rigidity. Thicker materials provide sturdiness but can complicate the stamping process. Test different combinations to find the right balance. Sometimes, unexpected materials can lead to innovative designs. Embrace this trial-and-error approach.
It's also worth factoring in the finish you want for your designs. A polished surface looks professional, yet takes more effort. Decide if you want a raw or treated finish. Each choice affects the final appearance. Reflect on your project goals as you make decisions. Understanding your materials will greatly enhance your stamping experience.
How to Create Stamped Sheet Metal Designs for Your Projects? - Choosing the Right Materials for Your Stamped Designs
| Material Type |
Thickness (mm) |
Hardness (Brinell) |
Corrosion Resistance |
Cost per Kg ($) |
| Aluminum Alloy |
1.5 |
85 |
Good |
2.50 |
| Stainless Steel |
1.0 |
200 |
Excellent |
3.80 |
| Mild Steel |
2.0 |
120 |
Fair |
1.50 |
| Copper |
1.8 |
90 |
Good |
6.00 |
| Brass |
1.2 |
85 |
Fair |
5.00 |
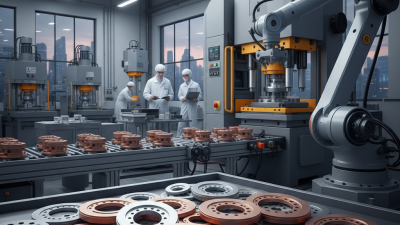
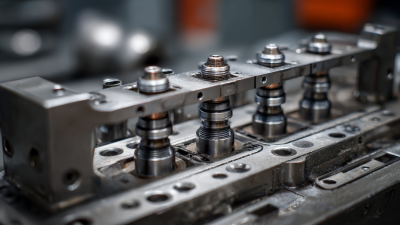
Essential Tools and Equipment for Metal Stamping
When creating stamped sheet metal designs, having the right tools is crucial. Essential equipment often includes a metal stamping machine, which can be a hydraulic or mechanical model. These machines allow precise pressure application, ensuring detailed designs on metal surfaces. A workbench with a sturdy setup is also necessary for stability during the stamping process.
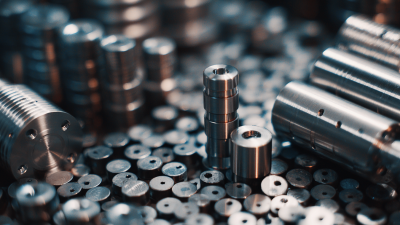
In addition to the stamping machine, proper tooling is key. Dies are indispensable for forming shapes and patterns. You may require different dies for various designs. Ensure your dies are made from high-quality metal to withstand repeated use without wear. A good set of pliers and clamps can help secure the metal while you work. Safety gear, like gloves and goggles, should always be worn to prevent injuries.
Despite having the right tools, mistakes are common in metal stamping. It takes practice to understand how pressure and design interact. Don’t be discouraged by initial flaws. Analyze your work and make adjustments. Over time, your technique will improve, leading to impressive stamped designs. Embrace errors as learning opportunities, and refine your approach with each project.
Metal Stamping Tool Usage Statistics
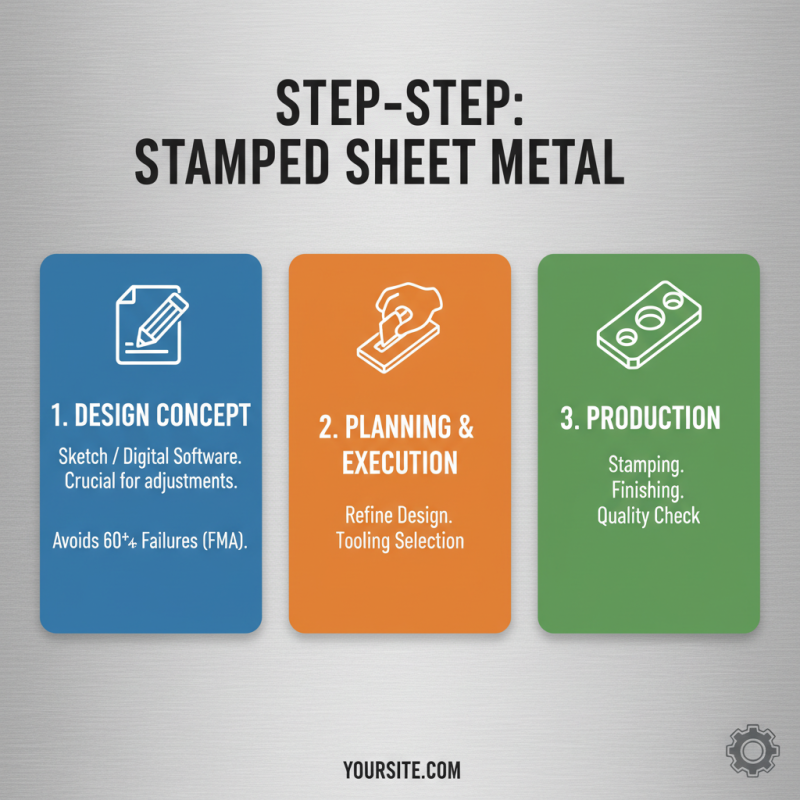
Step-by-Step Process for Creating Stamped Sheet Metal Pieces
Creating unique stamped sheet metal designs requires careful planning and execution. Start with your design concept. Sketch it out on paper or use digital design software. This preliminary step allows for adjustments before you even approach the metal. According to the Fabricators & Manufacturers Association, over 60% of metalwork failures can be traced back to design flaws. So, invest time in this stage.
Next, choose the right materials. Aluminum and stainless steel are popular due to their malleability and strength. While aluminum is lightweight, stainless steel offers durability. Ensure your material aligns with your project requirements. Data suggests that using the right thickness can improve the quality of the stamped product. A sheet metal thickness of 0.8mm to 1.5mm often strikes a balance between flexibility and rigidity.
Once your design and materials are set, the stamping process begins. Prepare your die and set up your stamping machine. Precision is crucial here; even a minor misalignment can ruin the end product. Keep in mind the necessity of testing samples before full production runs. It’s not uncommon for artisans to encounter flaws, prompting adjustments in their approach. Continuous learning is vital in mastering stamped sheet metal work.
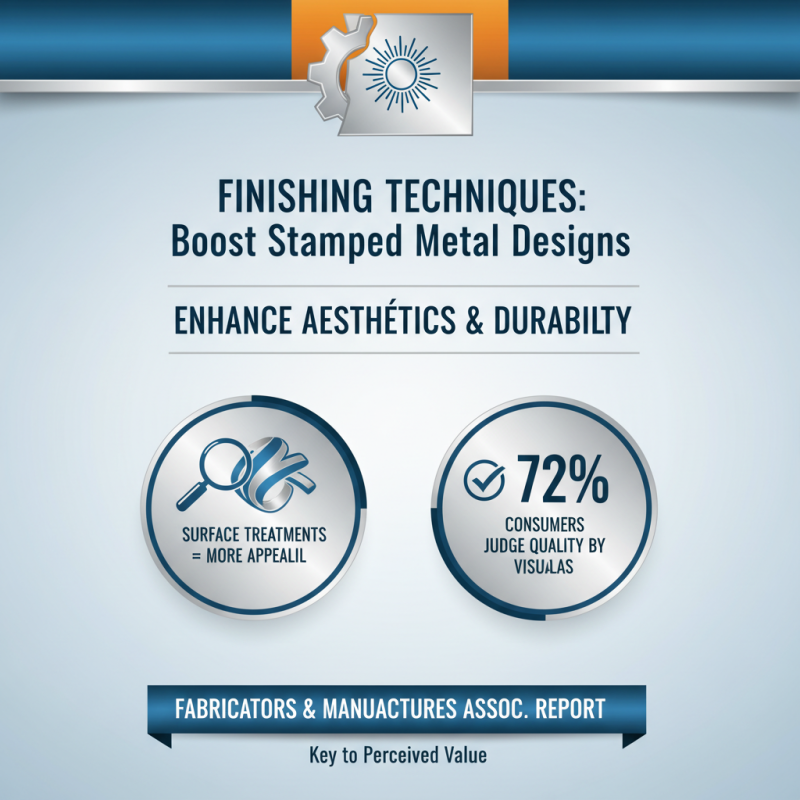
Finishing Techniques to Enhance Your Stamped Designs
The finishing techniques for stamped sheet metal designs are crucial for enhancing both aesthetics and durability. Surface treatments can significantly elevate your designs, making them more appealing. According to a report by the Fabricators & Manufacturers Association, 72% of consumers judge quality based on visual appearance. This statistic emphasizes the importance of finishing.
One popular technique is powder coating. It provides a vibrant finish while offering exceptional corrosion resistance. Studies show that powder-coated surfaces last three times longer than those that are simply painted. Moreover, anodizing is another method that can increase surface hardness by 50%. However, achieving the desired finish can be challenging. Inconsistent application can lead to imperfections, requiring additional touch-ups that can delay project timelines.
Beyond aesthetic improvements, consider texture finishes. Textured surfaces can disguise minor flaws while adding a tactile dimension to your designs. A rough finish can sometimes hide imperfections that may otherwise be visible. Nevertheless, over-texturing can hinder paint adhesion, leading to peeling over time. Balancing appearance and functionality is key in creating stamped designs that not only look good but also perform well.